 |
| An extra vertical LCD TV has been added to show high-scores around the booth. |
Friday, October 1, 2010
Booth Touch-Up
Two extra days were given by the lecturers, therefore I decided to touch up a bit on the booth pillars, which was too blank previously.
Labels:
Environmental Media
Wednesday, September 29, 2010
Booth Renders
 |
| Front view |
 |
| Rear view |
 |
| Side view |
 |
| Top view |
 |
| Bird's Eye View |
 |
| Interactive kiosks |
 |
| The stage with 3 counters to host quiz contests. The floor will keep changing colors. |
Labels:
Environmental Media
Mascot Posing
 |
| After modelling the mascot, a simple rigging is done using biped skeleton in 3DS Max. |
 |
| With minimum weight painting, the body and hands were bended and posed according to the sketch. |
Labels:
Environmental Media
Mascot Modelling
 |
| The mascot modelling first started with a mesh-smoothed box and a mapped plane as reference in 3DS Max. |
 |
| After extruding and moving all the vertices in place, an 'Unwrap UVW' modifier was added and the map was flattened in a back/front projection. |
 |
| The map template was then exported to Adobe Photoshop and face details and its singlet were added. |
 |
| After that, the hair, spectacles, leather jacket and shoes were added. The afro-hair was made up by a series of sphere, then combined using 'ProBoolean' and reduced polygon using 'Multires'. |
Labels:
Environmental Media
Booth Concept
The original booth concept looked like this, however due to the lack of time (too much effort on the TVC) I decided to do what I could finish in the limited time frame, which is to replace the rocket with an ordinary Nutrigen bottle instead. Another design concern is that this booth only works in one direction, which makes the rear side looks pretty ugly, so I decided to turn the big pylon backwards.
On the other hand, with a booth this huge while only hosting a few digital kiosk, no advertiser would buy the idea. Thus a stage is required to have more activities running on ground.
These are the proposed brain-teasing games to be played on the kiosk. Since the product USP is its brain-development feature, while I believe intelligent is not just scoring in examination, I intended to include games that involve more brain functions like memory, coordination, shape/color distinguishing, speed of reaction etc. These games are pretty much inspired by the Sweden army force game.
Labels:
Environmental Media,
Ideation
Final Video
After preparing all the graphic materials, the video was compiled in Adobe After Effects along with the sound. A master copy was then rendered in order to convert into various formats. Special thanks to my girl friend Fing who lend a hand in basic color filling of the main character, Kenny Lim who is working in Animonsta for help in audio design, and my lecturers Mr K and Mdm Rina for giving the opportunity to try on the most graphically-heavy project so far in my life =D
Labels:
Audio Visual
Character Orbiting Animation
One of the scene includes a 90 degree rotation of the main character's upper body.
Since this could not be done with simple tweening, I decided to draw it frame-by-frame.
By skipping 1 frame at a time, I managed to draw a rather smooth rotation in 8 frames.
It's my first time to draw a frame-by-frame on a human face.
Since this could not be done with simple tweening, I decided to draw it frame-by-frame.
By skipping 1 frame at a time, I managed to draw a rather smooth rotation in 8 frames.
It's my first time to draw a frame-by-frame on a human face.
 |
| First of all, by turning on 'onion skin' in Adobe Flash, I used the brush tool to roughly draw the animation. |
 |
| Next, by exporting all the frames into jpeg, I traced the pictures using pen tool in Adobe Illustrator for a tidier outline. |
 |
| After that, I copied the outline to Adobe Photoshop as 'Smart Object', and added colors and shadows using brush. |
 |
| Lastly, working in Adobe Flash again, I animated it along with the background, and exported as JPEG sequence for compilation in Adobe After Effects. |
Labels:
Audio Visual
Digital Painting
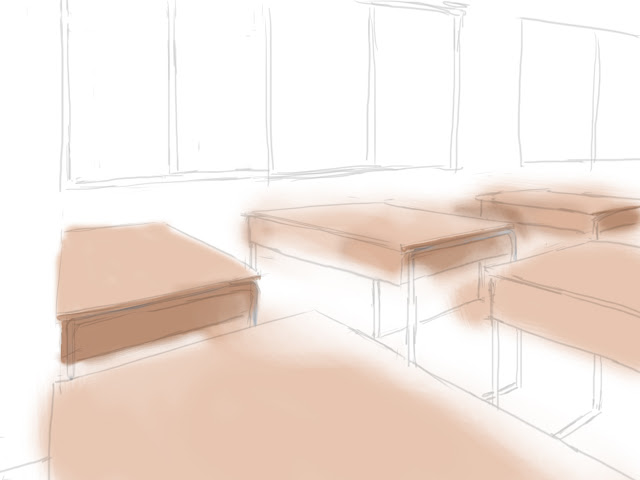
Below is the step-by-step process when painting the background.
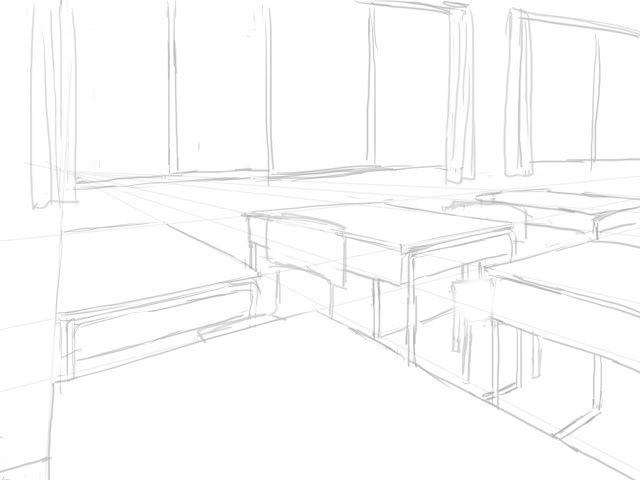 |
| First of all, the perspective grid was created and a sketchy outline was drawn |
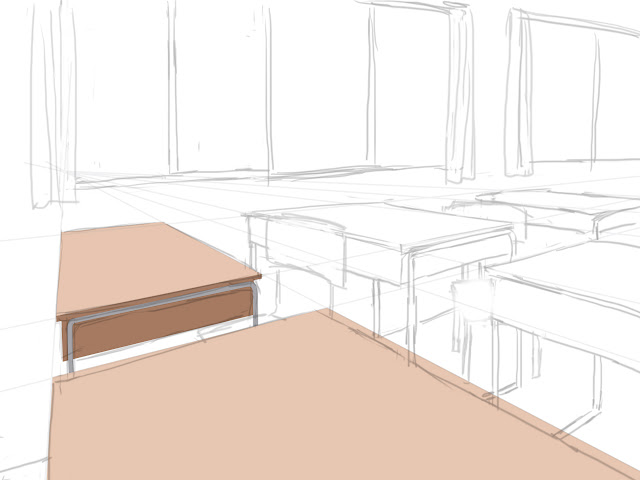 |
| On a second trial, I first draw a vector shape using pen tool to define the area. |
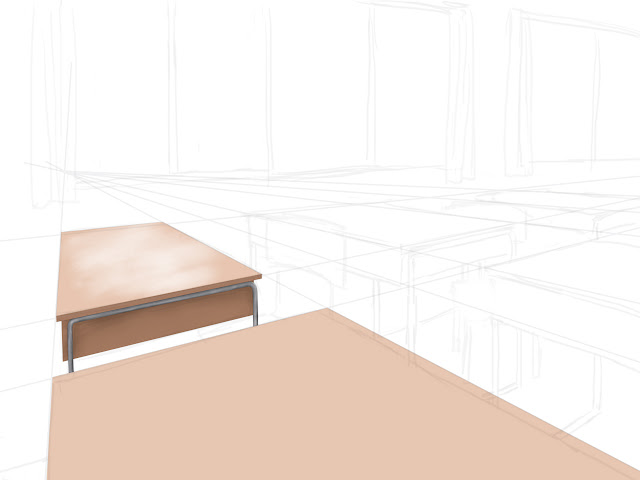 |
| Highlights and shadings are then painted in a layer clipped to the vector shape. |
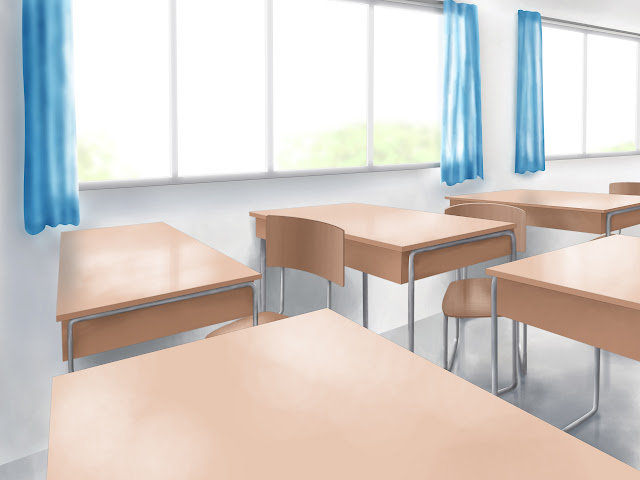 |
| After finish painting the classroom, I decided to take a few more hours to add in more details. |
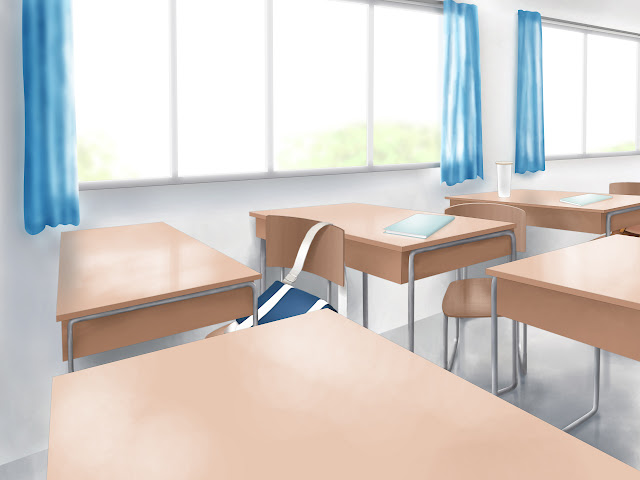 |
| A few bags and books were added in the painting. Almost time to start the next background. |
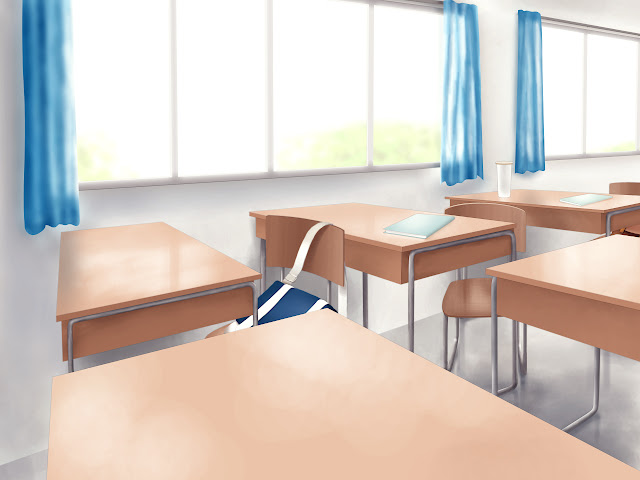 |
| Lastly, to enhance the overall mood and feel, a color balance adjustment layer has been added, adding some blue color on the shadow and yellow color on the highlight. |
The same digital painting workflow has been used in most of the scenes in the video. The first painting took me about two to three days, however as I get used to the technique, it only took me three to four hours to finish a background painting.
Labels:
Audio Visual,
Storyboard
Storyboard Digitalization
Most of the digitalization process took part in Adobe Photoshop and Adobe Illustrator. The frame-by-frame motion-tweening part was first sketched in Flash, then traced and colored in Adobe Illustrator. All of them were done in a resolution of at least 1280x960 so that the resized version will look clearer and better. Please click the pictures for a larger view.
Labels:
Audio Visual,
Storyboard
Tuesday, September 28, 2010
Character Redesign
 |
| Character redesign process |
The reason why I choose rabbit is because rabbit somehow looks tame on the outside and naughty on the inside, which very much matching with the personality that I intended to inject on the main character.
Some reference on the character design includes Bugs Bunny, Usavich and Tuzki.
Subscribe to:
Comments (Atom)


