Below is the step-by-step process when painting the background.
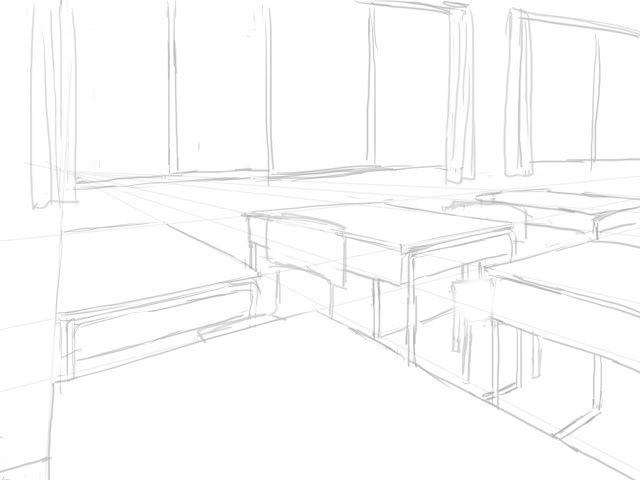 |
| First of all, the perspective grid was created and a sketchy outline was drawn |
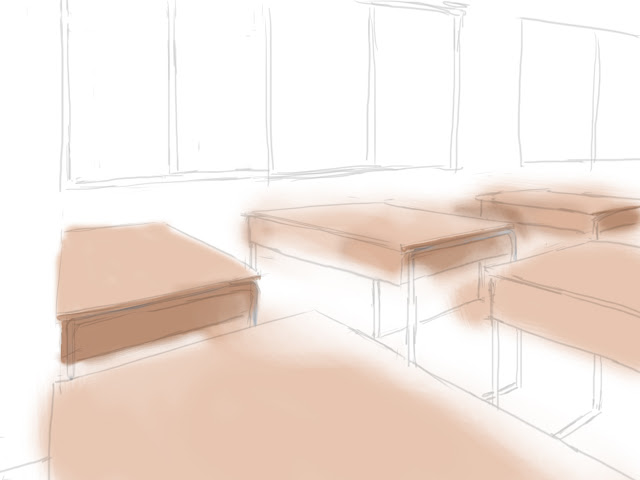 |
In a trial painting, I planned to paint basic color first and then enhance the edges, shading and details,
but I realized that this process is very inefficient as it takes too much time to finish a single drawing. |
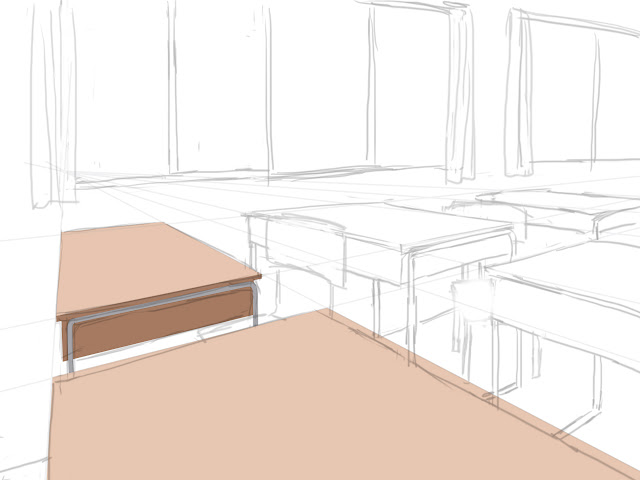 |
| On a second trial, I first draw a vector shape using pen tool to define the area. |
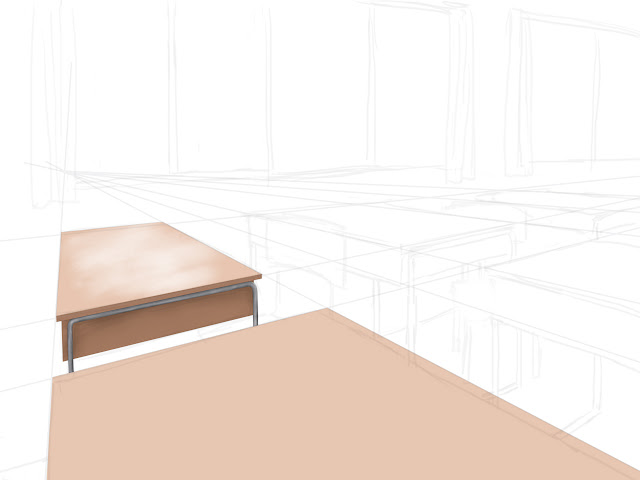 |
| Highlights and shadings are then painted in a layer clipped to the vector shape. |
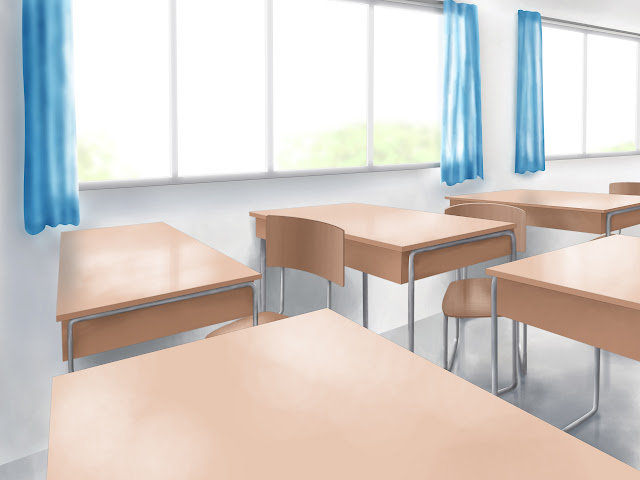 |
| After finish painting the classroom, I decided to take a few more hours to add in more details. |
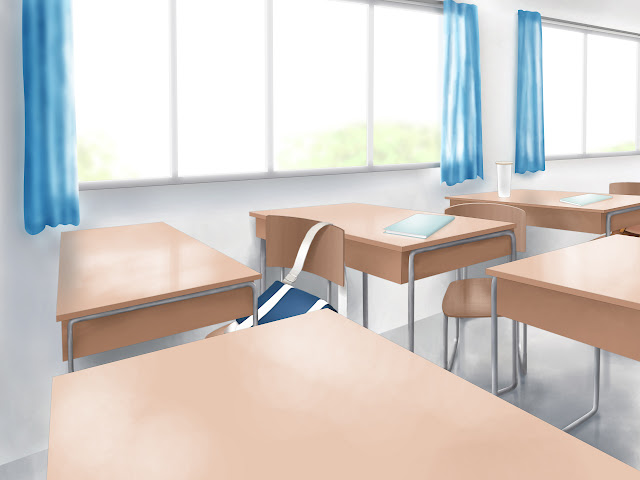 |
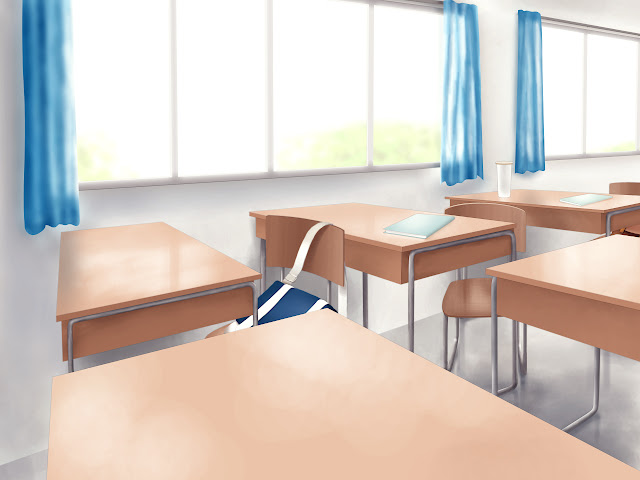
| A few bags and books were added in the painting. Almost time to start the next background. |
 |
Lastly, to enhance the overall mood and feel, a color balance adjustment layer has been added,
adding some blue color on the shadow and yellow color on the highlight. |
The same digital painting workflow has been used in most of the scenes in the video. The first painting took me about two to three days, however as I get used to the technique, it only took me three to four hours to finish a background painting.


No comments:
Post a Comment