 |
| Front view |
 |
| Rear view |
 |
| Side view |
 |
| Top view |
 |
| Bird's Eye View |
 |
| Interactive kiosks |
 |
| The stage with 3 counters to host quiz contests. The floor will keep changing colors. |
 |
| Front view |
 |
| Rear view |
 |
| Side view |
 |
| Top view |
 |
| Bird's Eye View |
 |
| Interactive kiosks |
 |
| The stage with 3 counters to host quiz contests. The floor will keep changing colors. |
 |
| After modelling the mascot, a simple rigging is done using biped skeleton in 3DS Max. |
 |
| With minimum weight painting, the body and hands were bended and posed according to the sketch. |
 |
| The mascot modelling first started with a mesh-smoothed box and a mapped plane as reference in 3DS Max. |
 |
| After extruding and moving all the vertices in place, an 'Unwrap UVW' modifier was added and the map was flattened in a back/front projection. |
 |
| The map template was then exported to Adobe Photoshop and face details and its singlet were added. |
 |
| After that, the hair, spectacles, leather jacket and shoes were added. The afro-hair was made up by a series of sphere, then combined using 'ProBoolean' and reduced polygon using 'Multires'. |
 |
| First of all, by turning on 'onion skin' in Adobe Flash, I used the brush tool to roughly draw the animation. |
 |
| Next, by exporting all the frames into jpeg, I traced the pictures using pen tool in Adobe Illustrator for a tidier outline. |
 |
| After that, I copied the outline to Adobe Photoshop as 'Smart Object', and added colors and shadows using brush. |
 |
| Lastly, working in Adobe Flash again, I animated it along with the background, and exported as JPEG sequence for compilation in Adobe After Effects. |
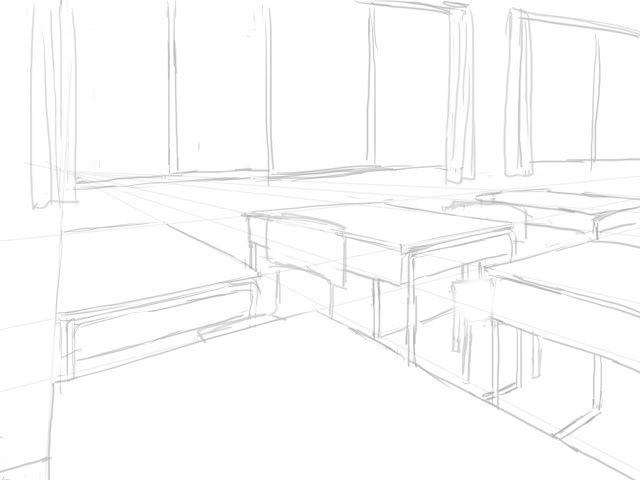 |
| First of all, the perspective grid was created and a sketchy outline was drawn |
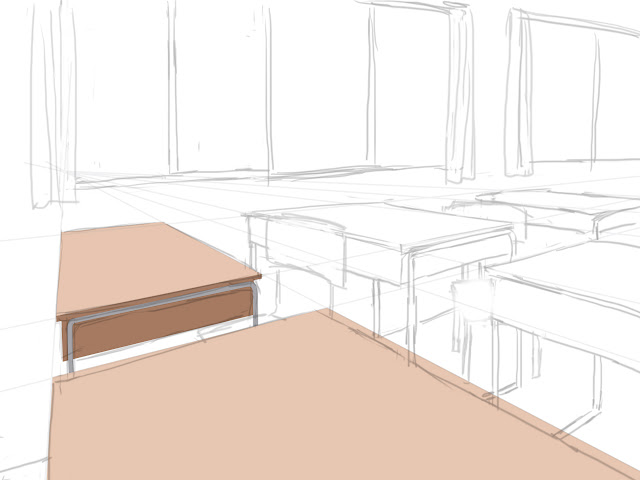 |
| On a second trial, I first draw a vector shape using pen tool to define the area. |
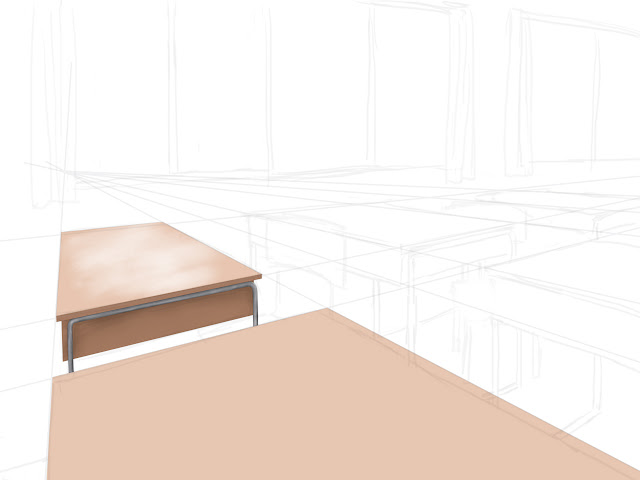 |
| Highlights and shadings are then painted in a layer clipped to the vector shape. |
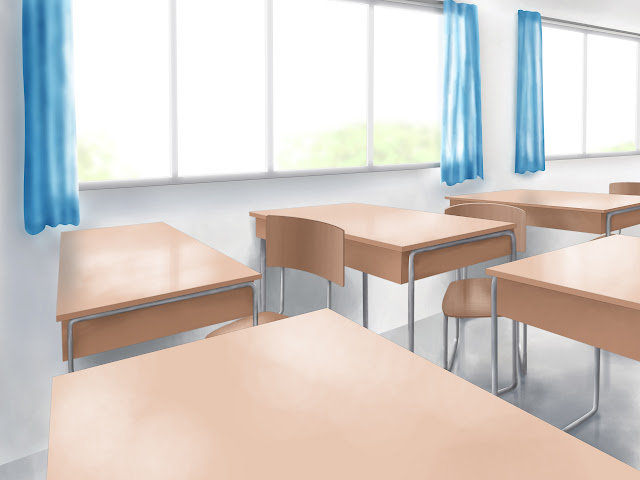 |
| After finish painting the classroom, I decided to take a few more hours to add in more details. |
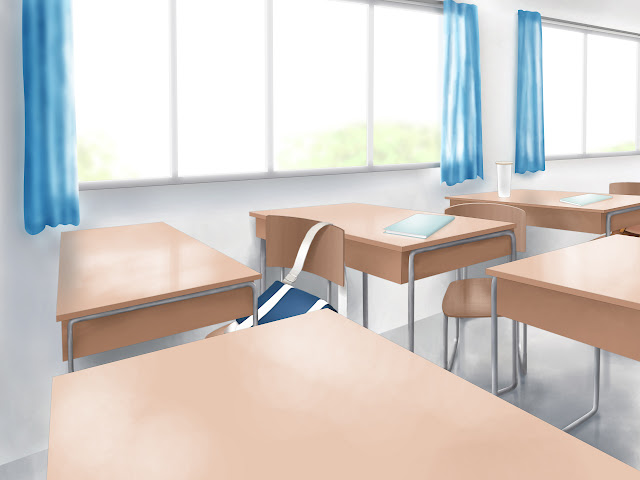 |
| A few bags and books were added in the painting. Almost time to start the next background. |
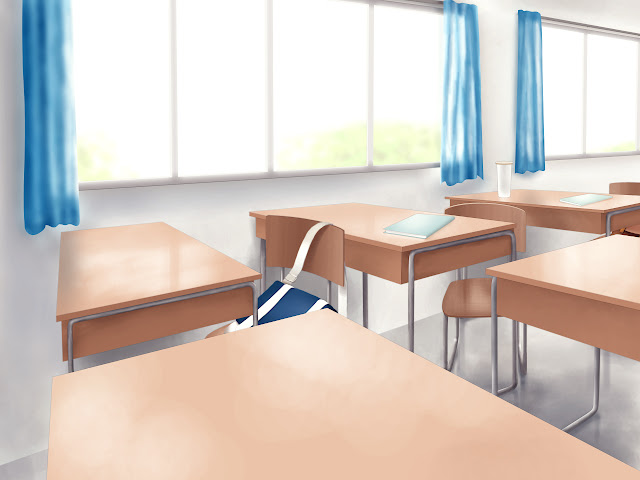 |
| Lastly, to enhance the overall mood and feel, a color balance adjustment layer has been added, adding some blue color on the shadow and yellow color on the highlight. |
 |
| Character redesign process |